


If you have ever wondered how to make your cardio sessions more effective, looking into Heart Rate Zones is a great place to start. It's not a secret that when it comes to cardiovascular training, not all workouts are created equal; Many of us find ourselves on cardio equipment without any real intent on how to achieve the desired goal that you are working toward. But don’t worry - that's where we come in!
One of the most powerful ways to maximize your cardio sessions is by leveraging heart rate zones - a strategy used by athletes & fitness professionals alike to tailor workouts for specific outcomes, from fat burning to peak performance.
In this guide, we’ll break down the five key heart rate zones, explain their physiological benefits, and provide smart recommendations on how to use popular cardio machines; treadmills, climbmills, rowing machines, and bikes to reach your health and wellness goals.
Understanding Heart Rate Zones
Your maximum heart rate (MHR) is generally calculated as 220 minus your age - This allows you to calculate your MHR Zones & the effort required to consistently train in that zone.
Maximum Aerobic Threshold (also called Aerobic Threshold AeT) can be calculated as 180 minus your age. AeT typically corresponds with Zone 2 of your MHR. Making it great to improve cardiovascular health, & metabolic efficiency.
Zone 1: Very Light (50–60% of MHR)
- Best for: Recovery, warm-ups, cool-downs, and active rest days.
- Benefits: Improves basic aerobic capacity and helps the body recover.
- Perceived effort: Very easy; you can hold a conversation.
Ideal machines: Recumbent bikes or treadmills at a slow pace or incline.
Zone 2: Light (60–70% of MHR)
- Best for: Long, steady-state cardio sessions.
- Benefits: Enhances fat metabolism and builds aerobic endurance.
- Perceived effort: Comfortable; breathing is deeper but not labored.
Ideal machines: Any cardio machine can be utilised for Zone 2!
Zone 3: Moderate (70–80% of MHR)
- Best for: General fitness and cardiovascular efficiency.
- Benefits: Boosts aerobic capacity and improves endurance performance.
- Perceived effort: Moderate; can speak in short sentences.
Ideal machines: Treadmills, rowers, Ski-Erg & Climbmills for sustained effort.
Zone 4: Hard (80–90% of MHR)
- Best for: Anaerobic threshold training.
- Benefits: Increases VO₂ max, lactate threshold, and stamina.
- Perceived effort: High; talking becomes difficult.
Ideal machines: Rowing machines and Climbmills with high resistance or intervals.

Zone 5: Maximum (90–100% of MHR)
- Best for: Sprint training and high-intensity interval training (HIIT).
- Benefits: Builds explosiveness, performance capacity & speed.
- Perceived effort: Maximal; can only sustain for short sharp bursts
Ideal machines: Self-Powered Curved Treadmill, Air-bike & Rowing with Max Effort

Schwinn AD8 AirDyne
$2,499.00
$1,799.00
/
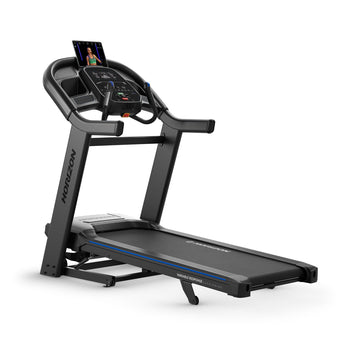
Horizon 7.4AT-24 Treadmill
$3,499.00
$2,250.00
/

Lifespan Fitness Delta 2.1 Treadmill
$2,199.00
$1,699.00
/
Horizon T202-26 Treadmill
$2,199.00
$1,595.00
/

Concept2 Bike Erg
$2,233.00
/

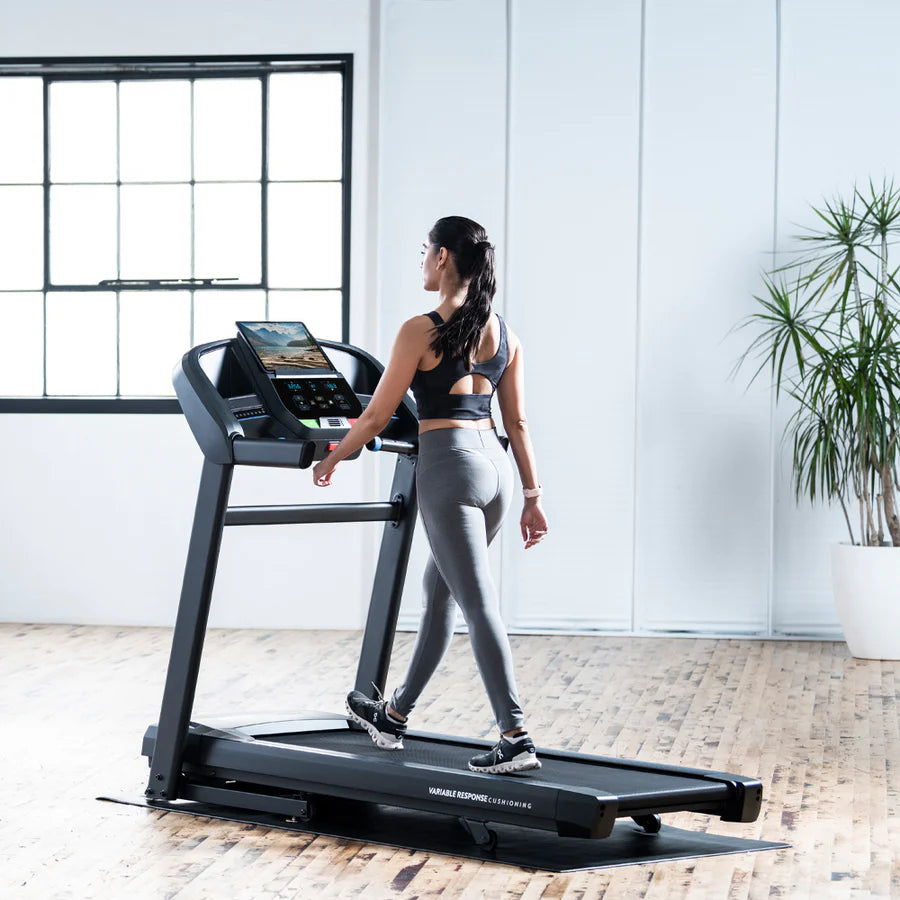
Horizon TREAD-XP Treadmill
$5,299.00
$3,495.00
/

WalkingPad R1 Double-Fold Treadmill
$1,399.00
$949.00
/

Lifespan Fitness V-FOLD Treadmill with SmartStride
$1,599.00
$899.00
/

Tempo TP-108 Treadmill
$999.00
$795.00
/

Pure Design TR7i Incline Folding Treadmill
$1,299.00
$1,199.00
/
Horizon T101 Treadmill
$1,799.00
$1,499.00
/
Lifespan Fitness Delta 2.0 Treadmill
$1,599.00
$1,299.00
/

Cardio Equipment and How to Use Them Effectively by Zone
1. Treadmills
Great for all heart rate zones (Zone 1 - 4)
Adjust speed and incline to match your desired effort
Tip: Use incline walking for Zone 2 and interval sprints for Zones 3 - 5.
2. Climbmills
Higher intensity and pushes you into higher zones.
Excellent for Zone 3 and 4 when maintaining a steady climb.
Tip: Focus on form and pace—avoid leaning on handles where possible.

3. Rowing Machines
A full-body cardio workout that targets strength, endurance and power.
Depending on efforts ideal for MHR Zone 2 - MHR Zone 5
Tip: Use power strokes and a heavy resistance in intervals to hit Zone 4 or 5; Focus on smooth technique and controlled breathing in Zone 2.
4. Stationary or Spin Bikes
Versatile, joint-friendly option for all zones.
Perfect for low-impact steady-state in Zone 2
Spine Bikes are great for HIIT style workouts due to their added resistance which can hit Zone 5
Tip: A key metric on any Bike is Wattage; as it measures your true power output and isn't affected by heart rate RPM or external factors
GET A FEEL FOR YOUR ZONE!
See below for 2 workouts targeting Zone 2 & Zone 5
Workout 1: Zone 2 Cardio (60–70% of MHR) – Aerobic Endurance
Goal: Improve aerobic capacity, fat metabolism, and endurance.
Intensity: Light, sustainable pace — you should be able to maintain a conversation.
Sample Workout: Steady-State Endurance (45 minutes)
10 minutes easy pace (walking or light cycling)
30 minutes of continuous moderate-intensity effort (e.g., jogging, brisk walking, easy cycling) at 60–70% MHR
5 minutes walking + stretching
✅ Tip: Use a heart rate monitor or fitness tracker to stay in Zone 2. If not available, the "talk test" is a great tool — you should be able to talk while exercising but not sing.
Reminder: Your Heart rates sweet spot for this workout is 180 minus your age
Workout 2: Zone 5 Cardio (90–100% of MHR) – Anaerobic Power
Goal: Increase max effort capacity, VO₂ max, and explosiveness. VO₂ max is the maximum amount of oxygen your body can use during intense exercise
Intensity: Very hard — you should not be able to speak during the effort.
Sample Workout: Zone 5 Sprint Intervals (VO2 Max Focus)
Spin Bike, Air Bike or Rower
Warm Up: 10 minutes easy pace
Main set: 6 Rounds
30 seconds all-out effort (Zone 5)
2 minutes active recovery (Zone 2)
Cool Down: 5 - 10 minutes easy pace
✅ Tip: Max effort means giving close to 100% during the sprint intervals. Take your recovery seriously here - you're going to want that rest!


All Zones are Connected
Each training zone is connected - they don't work in isolation. Training across all zones creates a compound effect, where improvements in one zone support and enhance the others. Together they build a stronger, faster, more efficient engine.
Zone 1 - Essential for recovery between intense sessions in Zone 4 and 5, preparing the body for subsequent training.
Zone 2 - Forms the foundation for higher intensity work in Zones 3 to 5, supporting overall endurance, performance and recovery efficiency.
Zone 3 - Serves as a transitional zone, preparing the body for sustained efforts in Zone 4 and supporting recovery from higher intensities
Zone 4 - Enhances performance in Zone 3 by increasing the intensity that can be sustained aerobically
Zone 5 - Elevates the performance ceiling, making efforts in Zone 2 and 4 feel more manageable over time
Think of your Zones like they're gears on a bike - Zone 2 is your cruise gear, crucial for building a bigger engine. Zone 5, is your sprint gear! Explosive but unsustainable on its own. The Magic happens when you cross all zones strategically; improving recovery, endurance and speed.
Train Smarter, Not Harder
Mastering your heart rate zones is one of the most effective ways to train with purpose and see real, measurable improvements in your cardiovascular health, endurance, and fat loss.
Be strategic with your equipment choice, act in alignment with your goal, and listen to your body. Whether you’re on a Climbmill or rowing your way to Zone 5, intentional training is the difference between working out and progressing. Now Lets Get to Work!
Popular Products
Check out some some products for your cardio training below.
Schwinn AD8 AirDyne
$2,499.00
$1,799.00
/
Horizon 7.4AT-24 Treadmill
$3,499.00
$2,250.00
/
Lifespan Fitness Delta 2.1 Treadmill
$2,199.00
$1,699.00
/
Horizon T202-26 Treadmill
$2,199.00
$1,595.00
/
Concept2 Bike Erg
$2,233.00
/
Horizon TREAD-XP Treadmill
$5,299.00
$3,495.00
/
WalkingPad R1 Double-Fold Treadmill
$1,399.00
$949.00
/
Lifespan Fitness V-FOLD Treadmill with SmartStride
$1,599.00
$899.00
/
Tempo TP-108 Treadmill
$999.00
$795.00
/
Pure Design TR7i Incline Folding Treadmill
$1,299.00
$1,199.00
/
Horizon T101 Treadmill
$1,799.00
$1,499.00
/
Lifespan Fitness Delta 2.0 Treadmill
$1,599.00
$1,299.00
/